Friday, December 21, 2012

Cake Sculpting

My son, Tom works for Disney Animation Studios, and he has lately been taking a sculpting class as one of the perks of working for Disney. Here is his latest project ... not bad for his first attempt at sculpting ... 

Photo: Another view.

So, this week I had my turn at sculpting ... first time to sculpt "Toothless," Night Fury from How to Train Your Dragon. He's not perfect, but not bad for my first attempt...


Here is the finished cake, which I decorated for a sweet 13 year old girl for Icing Smiles. The cake was chocolate with chocolate mint mousse filling and covered with chocolate/vanilla marbled fondant. The book and "Toothless" were modeled from RK Treats and modeling chocolate. Warning: When using black airbrush color in your airbrush, be prepared to clean up fine black mist throughout your entire work area. 


The happy customer ...

So Tom, how did I do?

Friday, November 23, 2012

Happy Thanksgiving!

Because we live far away from the rest of our family, we don't often get the honor of having our children and grandchildren with us during the holidays, much to this grandma's dismay. However, we do have a great group of friends that we spend some time with during the holidays. They have become our family here in the Springs. We gathered together with our friends for an early Thanksgiving feast on Monday, so because we didn't want a big turkey dinner again for just Bruce and myself, we opted for a yummy salmon dinner, with pumpkin mousse parfaits and a heavenly crusty bread with herbs and cheese that I found the recipe for on Pinterest. By the way, did I mention that I love Pinterest? Some recipes have been more successful than others, but this crusty bread recipe is a keeper! You can add just about anything to the basic recipe. I added rosemary, thyme, garlic, toasted onions, and a little cheese... yummmmy! Bruce says I get way too excited about food. He's probably right.
 Citrus crusted salmon, parmesan herbed roasted potatoes, and green beans almondine
Pumpkin mousse parfaits
Crusty bread with herbs and cheese
Crusty bread, fresh from the oven

For step by step instructions with pictures, click here:

Crusty Bread

3 cups unbleached all purpose flour
1 3/4 teaspoons salt
1/2 teaspoon yeast
1 1/2 cups water

In a large mixing bowl, whisk together flour, salt and yeast. Add water and mix until a shaggy mixture forms. Cover bowl with plastic wrap and set aside for 12 - 18 hours. Overnight works great. Heat oven to 450 degrees. When the oven has reached 450 degrees place a cast iron or stoneware pot with a lid in the oven and heat the pot for 30 minutes. Meanwhile, pour dough onto a heavily floured surface and shape into a ball. Cover with plastic wrap and let set while the pot is heating. Remove hot pot from the oven and drop in the dough. Cover and return to oven for 30 minutes. After 30 minutes remove the lid and bake an additional 15 minutes. Remove bread from oven and place on a cooling rack to cool.
Comments from Cathy:
1.   I used just regular bleached flour since I didn't have any unbleached on hand - worked fine. Do not try using all 100% whole wheat; it is too heavy for this recipe.
         2.  You can add just about anything to the original recipe. I added herbs, onion, and cheese. You can add fruit and nuts, cinnamon and sugar, different types of cheeses... be creative.
        3.  Make sure your pot is at least 3 qt. size or larger. Mine is 3 qt. and was perfect for this recipe.
         4. This is by far the easiest bread recipe I have ever made, and the results are superb! 


Wednesday, November 21, 2012

The in and outs of taking cake pictures

Over the years, I have taken many pictures of cakes, but usually it's the outside of the cake. I believe that I have captured some nice shots; however I always seem to forget to take pictures of the inside of the cakes whenever possible. After all, that is what customers, friends, and family are eating, so it would be nice to show that once in awhile. So, I am making it a goal to start taking pictures of cake slices when I can to show off the inside of my cakes, as well as the outside. Here's the latest...


Next time I'll leave out the fork! You can find the recipe for this yummy carrot cake here...

My favorite carrot cake recipe

Monday, October 29, 2012

Fondant Survival

Here is a "sweet" little video that answers some questions that you might have when working with fondant, courtesy of Sweet Wise.

Monday, October 15, 2012

Another Buttercream Icing Recipe

Occasionally, I have been using another buttercream icing recipe. This is another recipe that I got from Minette Rushing, owner of Custom Cakes in Savannah Georgia. A friend of mine hooked me up with Minette on Facebook. She does absolutely incredible work and I have incorporated many of her ideas and recipes into my work. This icing requires the use of high-ratio cake and icing shortening for the best results. It turns out super smooth. It is a non-crusting buttercream, so if you want to transfer a pattern onto the surface, you need to refrigerate the cake until the surface has hardened.

Minette's Buttercream Icing

1 lb. high-ratio cake and icing shortening
1 lb. lightly salted butter (softened)
2 lb. sifted powdered sugar
1/4 tsp. salt
Flavoring to taste (I used butter vanilla flavoring)

Beat shortening and butter together on medium speed until white and fluffy (several minutes). Add flavoring and salt, and beat. Add powdered sugar and combine on low speed until fully incorporated and very smooth. 

Here is a youtube video by Minette showing the process...


An interesting cake stand...

Instead of ordering a traditional wedding cake, this bride and groom ordered 5 different 8 inch specialty cakes. I was told that the cake stand would be set up at the venue, and I was just to put the cakes on the stand. When we walked into the venue, my husband and I were both surprised and a little shocked. The cake stand was so tall that you either had to get on a ladder or stand on the staircase in back of the cake in order to reach it. I'm sure cutting the cake was going to be real adventure. 


The flowers make the cake...

Whether you are using silk, fresh, or gumpaste flowers... the right flowers can make a simple cake beautiful and elegant. This cake was designed for a lady air force officer. I never spoke directly with her. All correspondence was done through email... not the first time. This cake design was very simple... four tiers with simple scrollwork. The flowers were placed on the cake by the florist, and as she worked, I could see this cake turn into a beautiful masterpiece. I also think that purple flowers are beautiful on a wedding cake... very dramatic. The decorations at this reception were perfect... all done by the mother of the groom. 


Sugar 'N Spice and Snips and Snails and puppy dog tails...

This customer was celebrating her twins first birthday, and was decorating using the poem words "sugar and spice and everything nice" and "snips and snails and puppy dog tails." The final products... puppy cupcakes, princess and cupcake cookies, and 2 smash cakes to match. Fondant cut out with cookies cutters, and the "cherry" on the cupcake was fruit leather. Tastes much better than red icing.


More recycled yellow buttercream...

An update to the earlier post about the yellow buttercream... here are two more orders that I was able to use it for...

Here you see the yellow and I added some orange color to the yellow to make the orange icing
I added orange color to make the orange buttercream to outline the cookies and added green to make the stems and leaves.

There is very little yellow icing left at this point. I think I learned my lesson.

Saturday, October 13, 2012

Never on Sunday...

Today I delivered a cake for a wedding a day early. That's right... the wedding isn't until tomorrow. I told this customer that I didn't work on Sunday, but that didn't seem to matter. So, out we went to the Pinecrest, but this time to the Pinecrest Lodge, where the family was staying. I assembled the cake, took some pictures, then took it off the plateau, and put it in the refrigerator, due to the buttercream frosting and mousse and cream cheese fillings. They will need to transport it across the street to the event center... hopefully very carefully and without any mishap. A side note... there was another wedding reception about to begin in the event center, and my friend Shelley decorated the cake for that one. 


Wednesday, October 3, 2012

Garbage disposal versus decorating tips...

...and the disposal wins. First time in over 35 years of decorating. Still don't know how they got in there. Good thing I have plenty of extras.


Sunday, September 30, 2012

New Decorating Tool..."The Mat"

I ordered a new decorating tool a couple of weeks ago... a new fondant mat, simply called "The Mat." This thing is a cake decorator's dream when it comes to rolling out fondant. The Pro version, which I have, is a 2-piece 30 inch square clear vinyl mat with special coating that usually never needs to be washed after the first time, just wiped off. On the bottom sheet, it has a chart on it to let you know how much fondant to weigh out for each size tier and also how large to roll it out. You put the fondant in the center, and then put the the other mat on top and roll out the fondant between the two mats. The top mat is clearly marked with the dimensions. When you have finished rolling it out, you remove the top mat and the fondant adheres to the bottom mat until you peel it off. The fondant will not become too dry because it is not exposed to the air and you do not need to add any extra powdered sugar or cornstarch. Because the mat is clear, it is easy to position it in the correct place on your cake... you just lay it over the cake, and peel it off. So simple... it made covering a 14 inch as easy as an 8 inch...amazing. 


To see details about this great decorating tool, click here...

And oh, by the way, my fondant of choice has become "Satin Ice." It is amazingly smooth, good tasting, and easy to work with. 

Scrolls...2 wedding cakes, 2 different icings, 2 different kinds of scrollwork, and 2 different kinds of roses...

The design of the week for this week's wedding cakes was scrolls... 2 wedding cakes, both with scrollwork, but completely different.

Cake #1...

Buttercream icing
Piped scrolls
Fresh flowers


Cake #2

Fondant
Fondant/gumpaste scrolls cut from Cricut Cake
Gumpaste flowers


Tuesday, September 25, 2012

Simple Lacey "SugarVeil" Cake

SugarVeil can be a little tricky to use, depending on the humidity conditions and other factors. For this cake, I was making SugarVeil lace for a wedding cake in the blue silicone molds. To speed up the setting time, you can place the filled mold into a 100 degree oven, or an oven with only the light on until it is set enough to peel out of the mold. The last time I made the lace, I just used the white SugarVeil. This time I added purple color to it as the bride wanted lavender lace on white fondant. Perhaps adding the color made a difference or it could have been more humid, but this time it took almost 2 hours for each mold to set. The last time I made the lace, it took only about half as long. Once you figure out how long you actually need to let it set, the process becomes quite easy, and the end result is quite lovely.


How to Make Lots of "Ducky" Yellow Buttercream or How to Recycle Yellow Buttercream Icing...

So the goal was to make 2 batches of pale yellow buttercream icing to go with a bunch of pretty little daisies for a simple 3 tier wedding cake. The first step in making buttercream is to beat the butter and shortening together for several minutes until very fluffy. During this step, I usually add the salt and flavoring also. So, since I was coloring this icing, I thought, "Why not add the yellow paste color also?" So, I began to add the color, a few drops at a time. It didn't appear to be turning very yellow, so I kept adding more and more. It still didn't look very yellow, just a little buttery color, but after adding so much, I decided that I probably shouldn't add anymore. So, the next step is to add the sugar and cream. It was like magic...the icing began to turn really yellow... not a pretty pale yellow, but more of a bright bright rubber ducky yellow. There was no way I could put that color of icing on a wedding cake, so I made 2 more batches of white icing to add to the yellow to try to make it lighter. The end result... still brighter than what I really wanted, but workable... AND allot of excess yellow buttercream icing... 4 large Cool Whip containers full, which ended up in the freezer until I found another use for it. I eventually added other colors to it, and had enough to ice a 1/4 sheet birthday cake in a bright green, and decorate 6 dozen sugar cookies in bright colors. I still have a little left, but should be able to use that up on an upcoming order. LESSON TO BE LEARNED... DO NOT ADD PASTE COLOR TO ICING UNTIL AFTER THE SUGAR IS MIXED IN. Who knew? See, I still keep learning new things after all these years.

The yellow actually matched the other decorations and the centers of the daisies, so it wasn't all that bad.
Birthday cake iced in bright green icing (request from birthday girl) which was made from some of the excess yellow icing.
Each color was made by adding color to the original yellow buttercream (on far right).

Sunday, August 12, 2012

Lots and Lots of Ruffles...

Today I designed a 4 tier wedding cake all done in ruffles... even the flowers were "ruffly." When I got this order, I had never done a cake like this, and so I went online to see if I could find out how to make the ruffles, and instead I found an entire tutorial on how to make a ruffle cake, and another tutorial on making the flowers that the bride wanted... yeah for technology!

Each tier on this cake was a different flavor...
  • Yellow with cream cheese and fresh strawberries
  • Lemon with lemon curd and cream cheese
  • Swiss chocolate with raspberry mousse
  • Vanilla with raspberry and cream cheese
All tiers were covered with buttercream icing, and then covered in ruffles made from 50/50 modeling chocolate and fondant. The dough was rolled out thin and cut into 3/4 inch strips and ruffled with a wooden dowel dipped in cornstarch. The end result was just what the bride ordered. Not too difficult, just time consuming. The first tiers took quite awhile, but I got faster as I went along. If you want a cake that's a little different and impressive, give this one a try.


Monday, August 6, 2012

My Favorite Carrot Cake Recipe

My friend, Jill, is making a carrot cake for her husband's birthday, and asked me if I had a good recipe, and of course, I do. Whenever I do a carrot cake for a wedding, this is the one I use, and I get nothing but rave reviews. The recipe also includes a White Chocolate Cream Cheese Icing, but I prefer to use my favorite cream cheese icing recipe instead. Instead of baking this cake in 2 layers and then slicing them to fill, this cake is baked in 3 thin layers, and the filling is put in between without having to worry about cutting any cake. Also, instead of grating the carrots, I just throw them in the food processor and chop them...easy.

Kory's Carrot Cake
4 eggs
1 1/3 cups vegetable oil
2 1/4 cups sugar
2 1/4 cups all-purpose flour
2 tsp. baking soda
2 tsp. baking powder
1/2 tsp. salt
2 tsp. ground cinnamon
1/2 tsp. ground cloves
1/2 tsp. ground nutmeg
20 ounces carrots, finely chopped (about 3 1/4 cups)
1/2 cup chopped walnuts or pecans
1 cup crushed pineapple, well-drained
May add 1/2 cup raisins if desired

White Chocolate Cream Cheese Icing
1 1/2 lbs. cream cheese, room temperature
2 cups white chocolate chips, melted 
3/4 cup ( 1 1/2 sticks) butter, room temperature
2 tsp. grated lemon rind
Chopped walnuts or pecans

To prepare cake, preheat oven to 350 degrees. Line bottom of three 8-inch round cake pans with parchment paper. Leave sides of pan dry-no cooking spray needed. Combine eggs and oil in a large mixing bowl. Beat 2 minutes with mixer on medium speed. Add 1 cup sugar and continue mixing 2 minutes. Add remaining sugar and mix 3 to 4 minutes. Combine flour, baking soda, baking powder, salt, cinnamon, cloves, and nutmeg; add to egg mixture, beating on low speed until blended (about 1 minute). Add carrots, nuts, and pineapple; mix until well combined. Divide batter evenly among pans. Bake 60 minutes, or until a wooden pick inserted in the center comes out clean. Cool to room temperature on a wire rack. Run knife round edge of cakes and remove from pans. Wrap in plastic wrap and refrigerate overnight. 

To prepare icing, place cream cheese in mixing bowl; beat with a mixer on medium speed until smooth. Add melted chocolate a little at a time, continuing to beat at medium speed. Add butter a little at a time. Scrape down sides of bowl; add lemon rind and beat until combined.

Remove cakes from refrigerator. Ice top of one layer. Place second layer on top; ice top. Place third layer on top; ice top and sides of cake. Press chopped nuts into sides of cake. Serves 20.

Tips from Cathy:

1.  For high altitude, I usually add an additional 1/4-1/2 cup flour.
2.  In my oven, I bake (3) 8 inch layers for approx. 40-42 minutes. Each oven is different, so keep checking it after about 40 minutes. If you bake it too long, it will turn out dry.
3.  If the cakes fall slightly in the center, push down around the sides while warm. 
4. Once I have the layers wrapped in plastic wrap, I like to stack all 3 layers together to refrigerate. It helps to level them out.
5.  If the layers are still slightly lower in the center, just level them out with lots of yummy cream cheese icing. Nobody will mind. I usually stack the bottom 2 layers with top sides up, and the final top layer with the bottom side up, to give the cake a more level top.
6.  For larger cakes:
1 1/2 batches=(3) 10 inch rounds. Bake for 50 minutes @ 350 degrees.
2 batches=(3) 12 inch rounds. Bake for 1 hour @ 350 degrees.
7. I like to add little icing carrots to the top of the cake, with a simple border (only on top because of the nuts). If I'm serving it at a wedding, sometimes I'll just add fleur-di-lis on top instead.


Sunday, August 5, 2012

Beating all records...

In my 36 years of cake decorating, tonight I had the fastest order and pickup ever, and all thanks to technology... specifically Facebook.

I have an order for a large 4-tier wedding cake next Saturday... all done in ruffles. Since I have never done a cake like this, I did research online, and found a tutorial...thanks to Kara Buntin at A Cake To Remember LLC.  I had cake batter left from cake samples I did on Thursday, so I baked a small 2 layer 6 inch round to practice on. The cake was iced in buttercream, the ruffles were made with 50/50 fondant and modeling chocolate. After a little practice, I got the hang of it, and I think the wedding cake should turn out fine. I'll just have to allow quite a bit of time. 

In the meantime, the last thing I needed was an extra cake sitting around the house. So... I took a picture, posted it on Facebook, and asked if anyone nearby would like a free cake. I said that the cake would go to the first person that responded. They would just have to come and pick it up. So, within a matter of minutes, Michael Kuhns responded, his wife, Jennifer, was out of the house, and within 20 minutes of my posting, the cake was out the door. How's that for a quick response? Gotta love Facebook!


Tuesday, July 24, 2012

Modeling Chocolate Recipe

PLEASE SEE UPDATE AT BOTTOM OF POST.

Modeling chocolate (or candy clay) is an easy and fun medium to use when decorating cakes. You can use it in candy molds, use it like regular clay to mold figures free hand, or you can use it in combination with fondant or gumpaste (50/50) to give the fondant better stability and flavor, and then use it for anything that you would use gumpaste for. It can be made with real chocolate or with candy melts. The tutorial that I'm posting today is made with candy melts. You can use dark chocolate, milk chocolate, white chocolate, or any other color.

12 oz. package Wilton candy melts (you can use any brand-just make sure you measure out 12 oz.)
1/4 cup light corn syrup

Pour candy melts into microwave safe bowl, and melt according to directions. Each microwave is different as far as power, but it usually takes me 1 1/2 minutes, stirring at 30 sec. intervals, until smooth. 
 Assemble tools and ingredients
 Only 2 ingredients needed - candy melts and corn syrup
 Pour candy melts into microwave safe bowl
 Stir after 30 seconds
 Stir again after 60 seconds
Final stir after 90 seconds - candy melts should be smooth

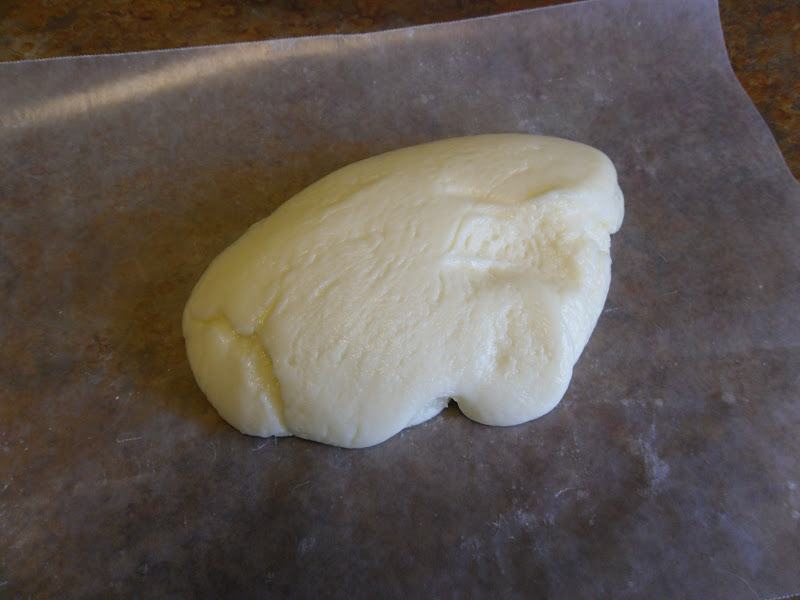
To allow corn syrup to pour out of measuring cup easily, coat the inside of the cup with vegetable oil spray. Measure 1/4 cup light corn syrup (any brand will do), and pour into melted candy melts. Mixture will begin to firm up immediately. Continue to stir until completely incorporated and mixture has formed a ball. Pour onto wax paper and allow to cool. When cool, put in zip-lock bag and allow to set over night at room temperature. When ready to use, take off a small piece, color as desired with food safe colors, and knead in your hands, until color is fully incorporated, and chocolate is pliable. Mold into desired shapes. 
 Use vegetable oil spray to coat inside of measuring cup
 Corn syrup will pour out of cup easier when coated
 Add corn syrup to melted candy melts
 Stir until fully combined and formed into ball
 Place on wax paper to cool
When cool, place in bag to cool at room temperature overnight

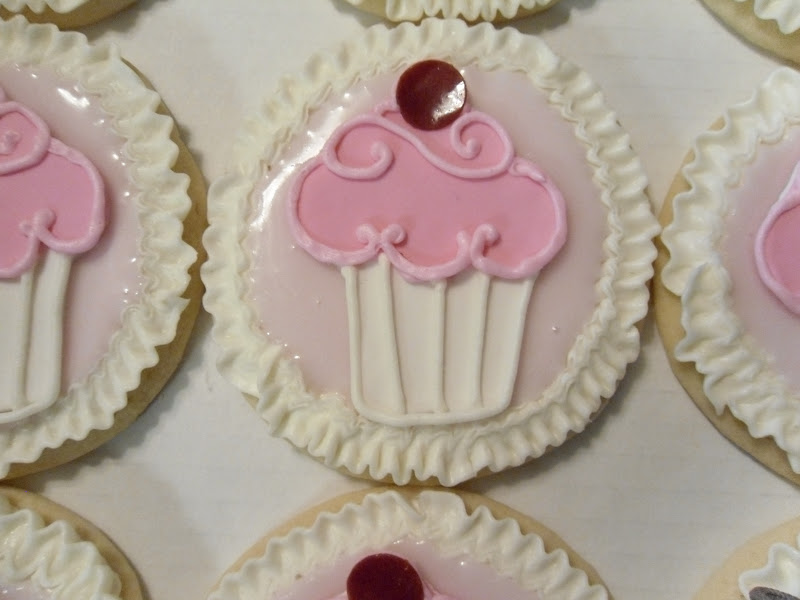
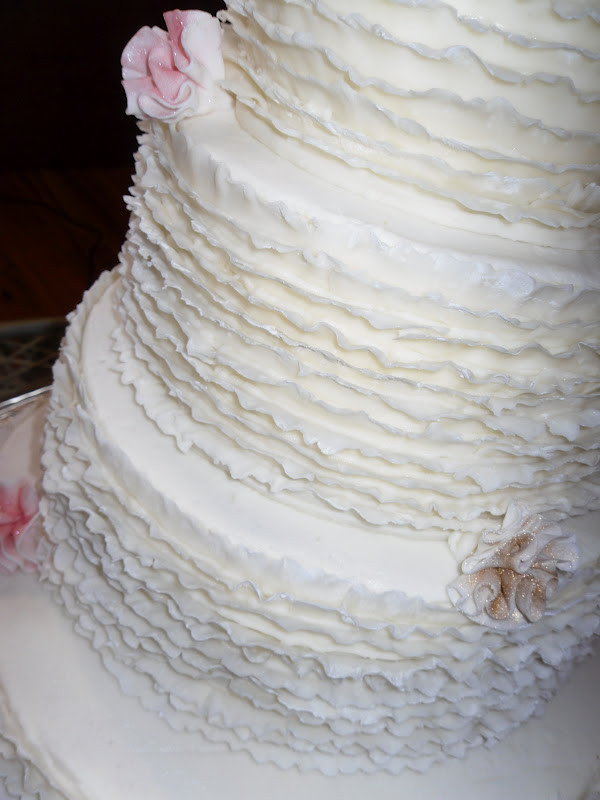
Here are a few examples of cakes items I have modeled with modeling chocolate...

 Hat, boots, and belt molded from modeling chocolate

 Booties made from 50/50 fondant and modeling chocolate
 Golf ball and tee molded from rice krispie treats and covered with modeling chocolate
Rope heart, garlands, hat, and horseshoes molded from modeling chocolate

UPDATE FOR MODELING CHOCOLATE RECIPE (DECEMBER 2016)

After making and using and loving modeling chocolate for many years, here are some tips that will help to make your recipe for modeling chocolate easier and almost fool proof:

1) My favorite brand of chocolate to use is Ghirardelli melting wafers, both white and dark chocolate. Use 1/2 cup corn syrup per lb. of wafers. 
2) If using colored candy melts, use 1/3 cup corn syrup per lb. of candy melts.
3) Be sure not to overheat your chocolate. It's best to stir the last few wafers until melted, instead of keep heating them up. 
4) Warm your corn syrup for a few seconds, so that both the syrup and chocolate are same temperature... just barely warm to the touch. 
5) If you need to color an entire batch, add the paste color to the corn syrup, stir, then add to the melted chocolate. 
6) Make sure all chocolate is incorporated without over-stirring.
7) Spread out chocolate mixture very thinly between layers of plastic wrap, and let set for no longer than 1 hour. When it is set, but still pliable, knead it into a smooth ball or log. Wrap tightly, put in zip lock bag, and let set until firm. It can usually be used in about 2 hours if necessary.
8) The modeling chocolate will be very hard. When you need to use a piece, you can put it in the microwave for no longer than 5 seconds to soften just a bit.  

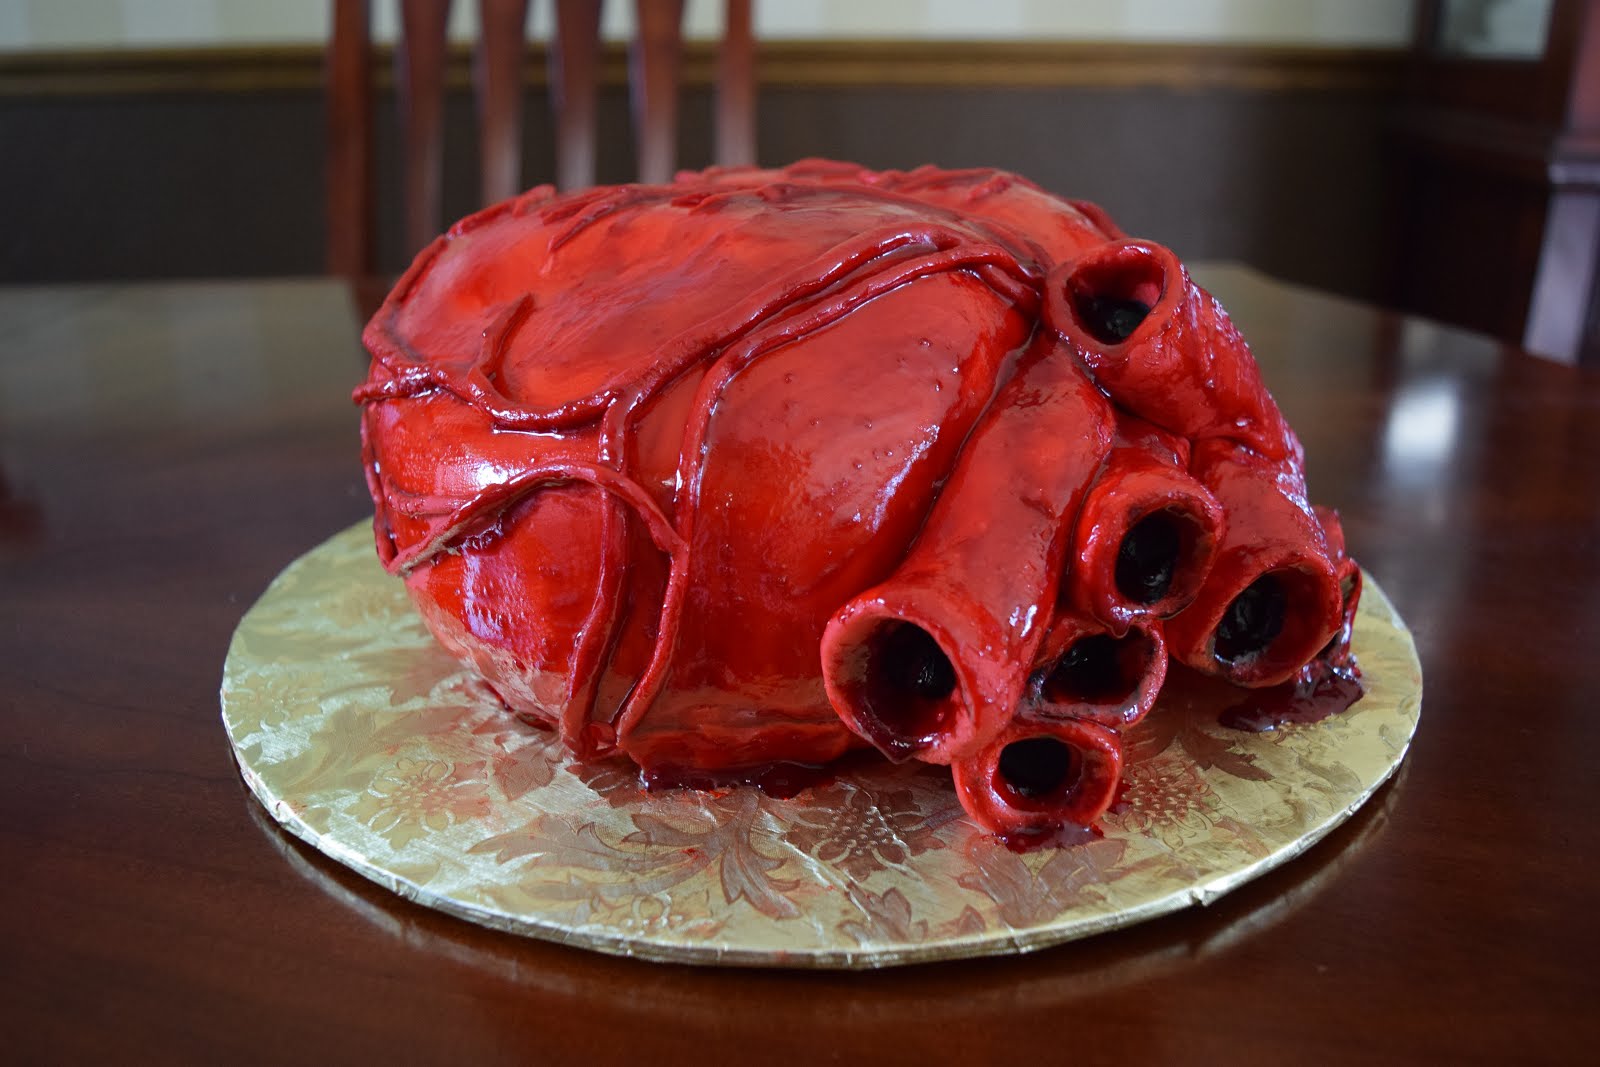
More examples of modeling chocolate